How to create a custom Fill
- Maria Kalashnikova
- Jan 27, 2022
- 2 min read
Why would I need that?
Even though Archicad has a lot in its basic library, you might need a unique texture on the site plan, floor plan, or on Facades. For that, you will need to learn how to create a custom Fill! It’s easier than you might think!
Step 01: Pick the sample
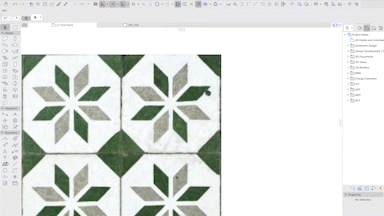
It’s always easier to create a new Fill using the prototype picture, and that is how your future Fill will be precise. Pick the sample picture and import it to Archicad.

Step 02: Draw the pattern
You first need to copy it in any 2D window. Use Lines, Arcs, Solid Fills, and Hotspots.
NOTE: Don’t use Spline and Polyline – they will not appear in Fills.
TIP 01: Use Hotspots if you want to add more empty space to your Fill as everything will be trimmed to the outermost element.
TIP 02: If you have any vector PDF files (from any CAD software or Illustrator), you can import them as Drawing, Explode and use these Solid Fills for your new Fill.

Step 03: Copy, create a new Fill, paste
Select and copy your pattern (either by Edit>Copy or by using CTRL/CMD+C. To create a New Fill, you need to open Options>Fills. Click New, pick New Symbolic Fill, and give it a name. Please use the name that you will understand later. And no, “123”, “----” and “Fill” are not the Best names.
Paste your selection: Paste button.

Step 04: Set the scale, strokes, angle
It’s hard to add something to the heading on this step! Pick where this Fill will be available (Drafting/Cover/Cut). Play around with settings of appearance until you will see the best result in the preview window. It’s also great to create a normal Screen-only pattern
– it will be easier to identify this Fill in the list.

Step 05: Test your Fill in the model
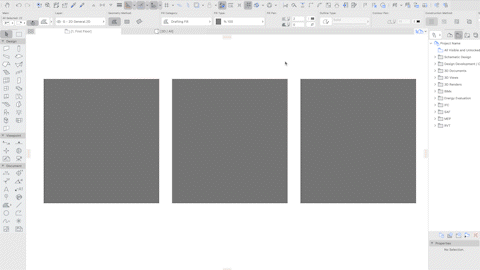
Create a new Fill with the recently created Fill name and check the results! Now you can set these Fills not only with Fill Tool, but with Slabs, Zones and other elements.


Comments